I think my husband may secretly wish Pinterest was never invented…
Over the course of our extreme farmhouse remodel process, I’ve lost track of how many times I’ve said, “Oh! You won’t believe the idea I just found on Pinterest.” And then I usually receive “the look” from him which is best described as a raised eyebrow with a little bit of eye roll thrown in. 😉
What can I say? There’s nothing I love more than fresh inspiration and big ideas and sometimes I go a little crazy with my pinning and planning. Thankfully, his practicality usually keeps me somewhat grounded. Ahem.
On the flip side, he’s pretty darn talented when it comes to building and creating, and I feel quite spoiled in how he’s been able to bring many of my more realistic Pinterest dreams to fruition.
Take those gorgeous laundry room tub sinks, for example.
They’re all over Pinterest, and in my house dreaming, I was bound and determined there would be one in my remodeled laundry room.
It took us a while to figure out the layout and logistics, and I’m pretty sure our plumber thought we were weird, but it was totally worth it.
I’m in love.
Here’s how we did it.
DIY Galvanized Tub Sink
(this post contains affiliate links)
The Tub:
There are many options when it comes to the tub/sink basin itself. My original idea was to use an antique wash tub with legs (like this one), but I ran into some problems with that:
- I had an extremely hard time finding laundry tubs on a stand that were meant to be used as a sink. Many of the reproductions out there are for decorative purposes only, or are meant to be planters– they are not watertight.
- The legitimate antiques I found were too fragile for regular use and they leaked.
- I needed a single tub (due to the space in our laundry room), not a double. The only place I could find selling single, watertight reproduction tubs was completely sold out.
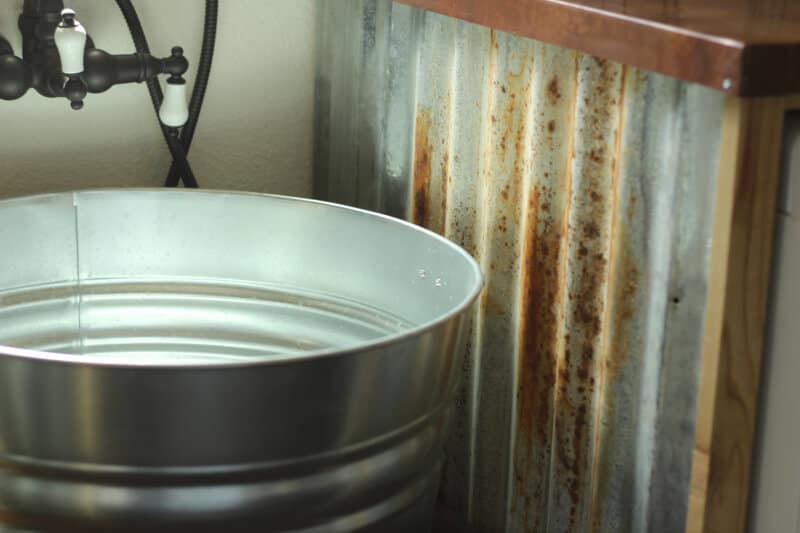
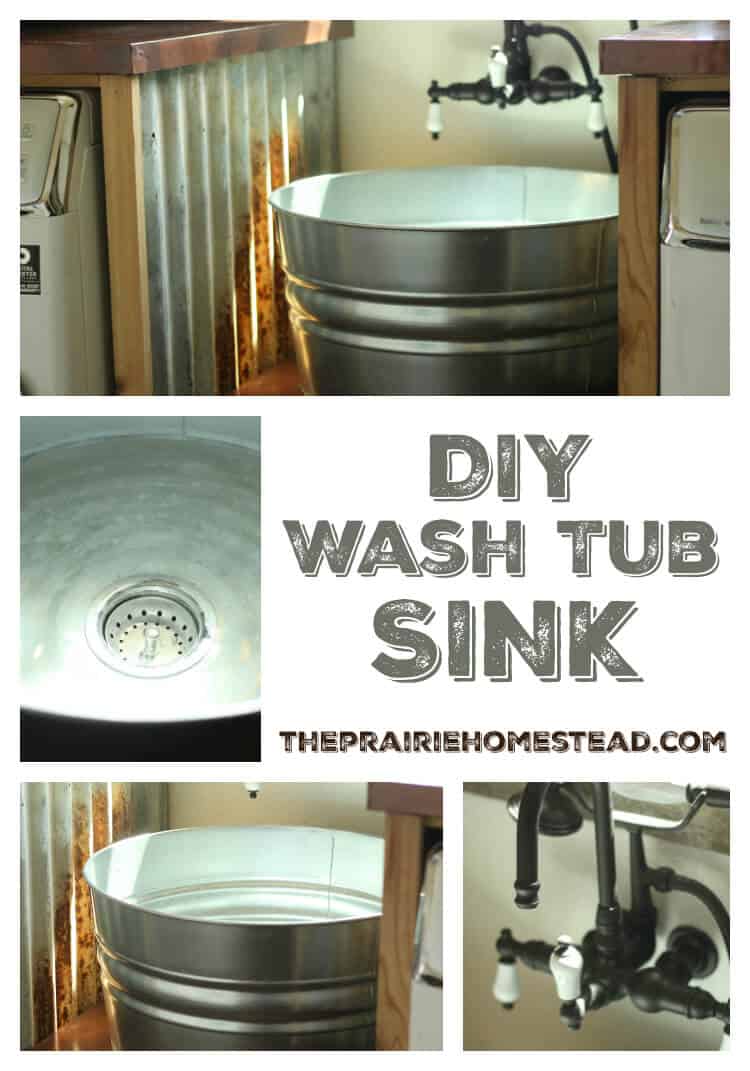
So I had to readjust my sails and come up with a different plan. I scoured our local antique stores for an old tub, but struck out repeatedly, as anything I found was either the wrong size or had rusty holes in the bottom. So we finally settled on a $24 galvanized tub from our local farm store. Not necessarily my first choice, but now that it’s in, it’s perfect.
The galvanized tub we chose is 22″ in diameter and I don’t have to worry about leaks since it’s new. We also chose to set it on top of the counter, instead of setting it inside. I love the exposed look and wanted people to be able to see the whole tub.
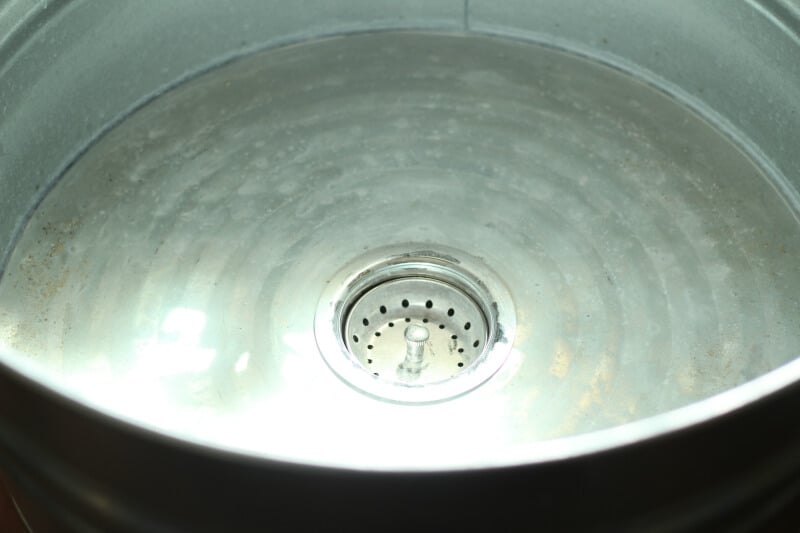
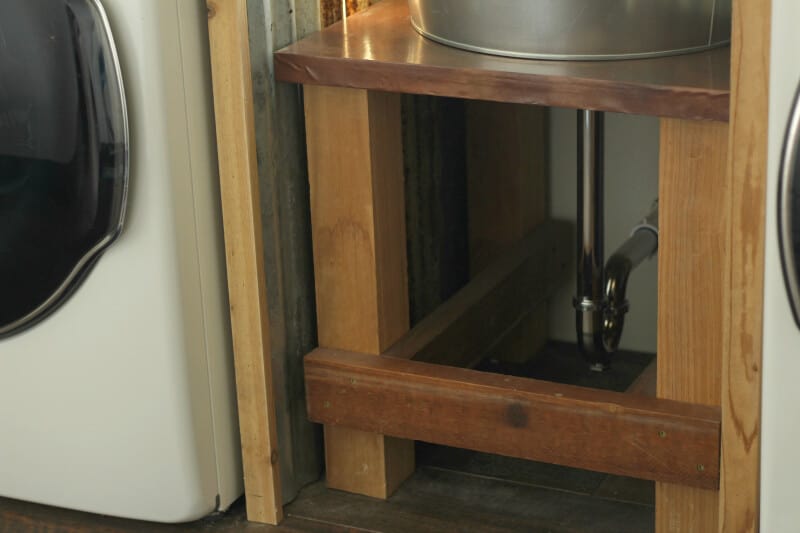
We drilled a hole in the middle of the bottom of the tub, purchased a drain for it, and opted for chrome pipe underneath, instead of PVC, since the plumbing is exposed.
Would I have this as my main sink? Probably not. Because it’s not designed to be a sink, the bottom doesn’t taper, so it doesn’t drain perfectly. However, it’s perfect for washing veggies from the garden, milk jars, or fresh eggs. And it’s so preeeetttty.
The Stand:
I’ve seen some lovely antique tables-tuned-wash-stands on Pinterest, and that was what I originally wanted. However, we needed a very specific dimension to fit between our washer/dryer, and I couldn’t find any antique table or cabinet that’d fit there. (Not to mention I had a bit of heartburn about cutting a big hole in the top of an antique.)
Instead, Prairie Husband built a custom stand with some leftover rough cut cedar we had hanging around.
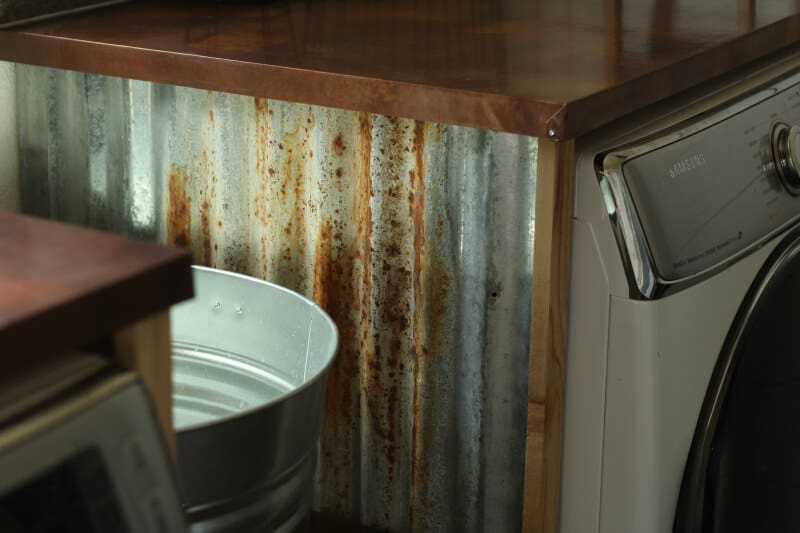
For the counter tops on the washer/dryer cubbies and the counter top under the sink, we lined 3/4″ sheets of plywood with copper sheeting. I adore copper, but I wasn’t brave enough to put in on my kitchen countertops (I’m too rough on stuff when I cook…). Therefore, putting it in the laundry room was a nice compromise.
I love living finishes that age and mature over time. *swoon*
The Faucet:
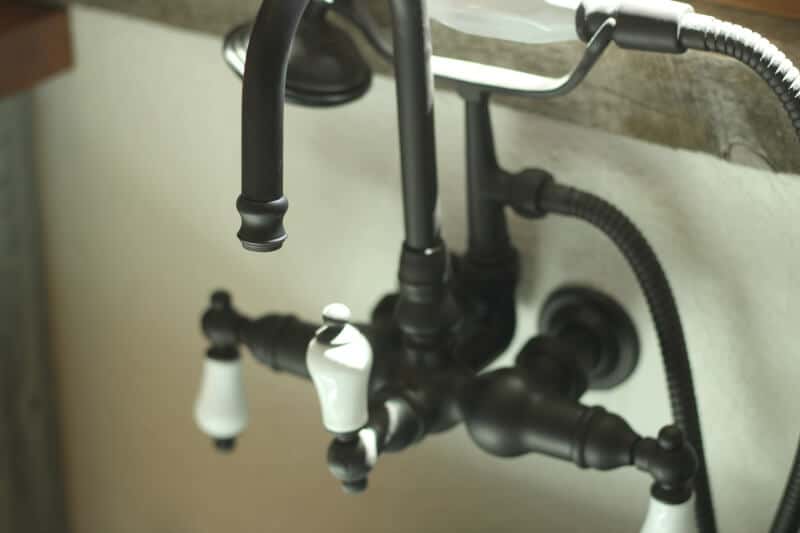
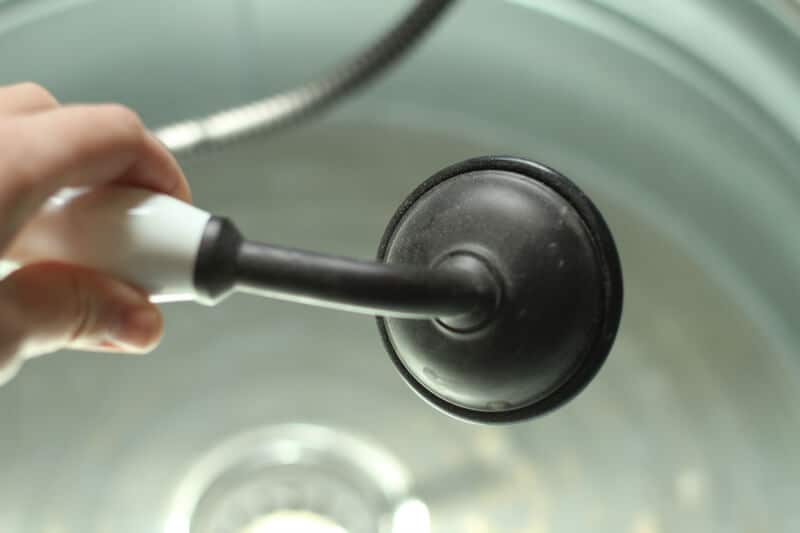
I definitely wanted a vintage-y faucet to match the feel of the rest of the room, so I splurged on this vintage-look faucet from Amazon. The sprayer was especially important to me, as I wanted to have flexibility if I was washing something awkward (like a small dog…) or needed to rinse out the bottom of the tub after washing a bunch of muddy carrots, or something like that.
The Rest of the Room:
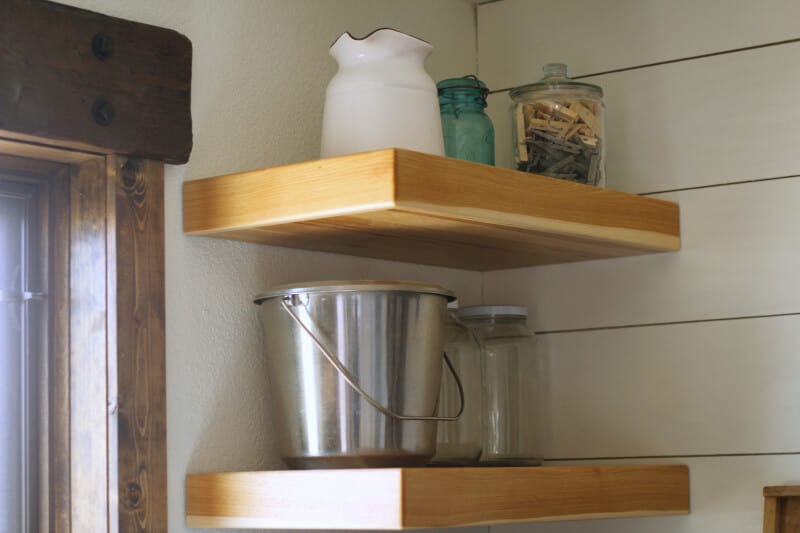
The laundry room might be utilitarian, but I still wanted it to be pretty in a rustic sort of way. I don’t really care for knick-knacks and prefer that my “decor” be functional items stored in beautiful ways. The open shelving we chose works perfectly for that. I am SO HAPPY I finally have a dedicated spot for my milk bucket and jars.
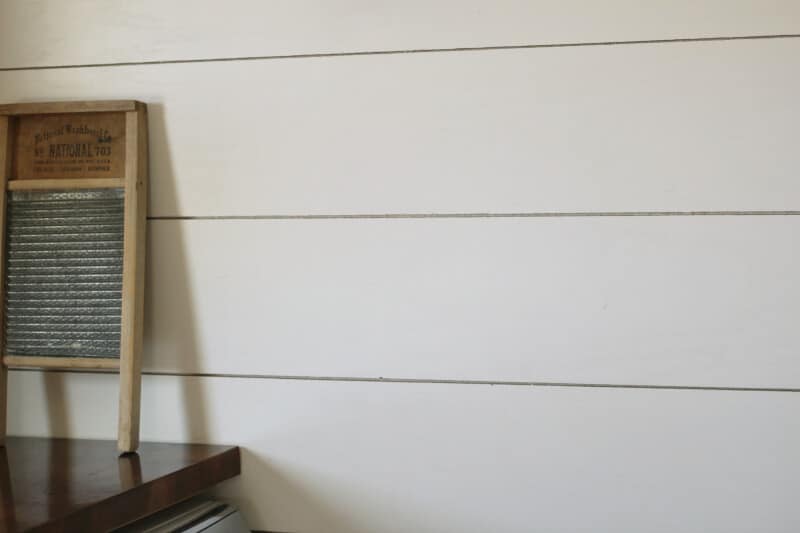
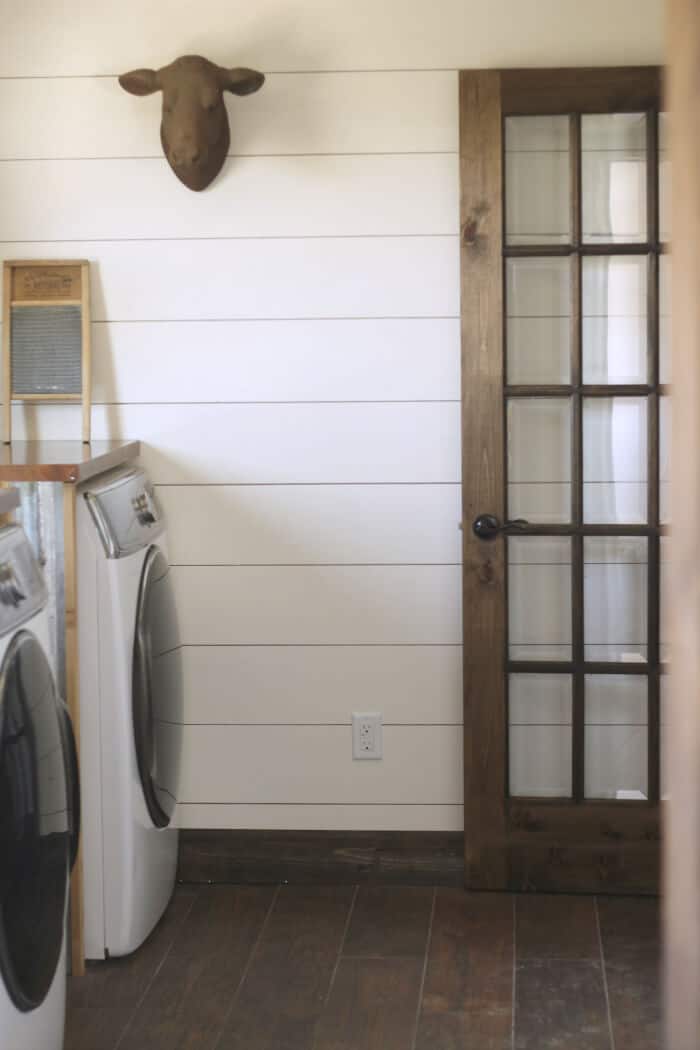
The white plank shiplap (custom built by the Prairie Husband, of course) and salvaged corrugated steel panels add to the rustic feel of the room.
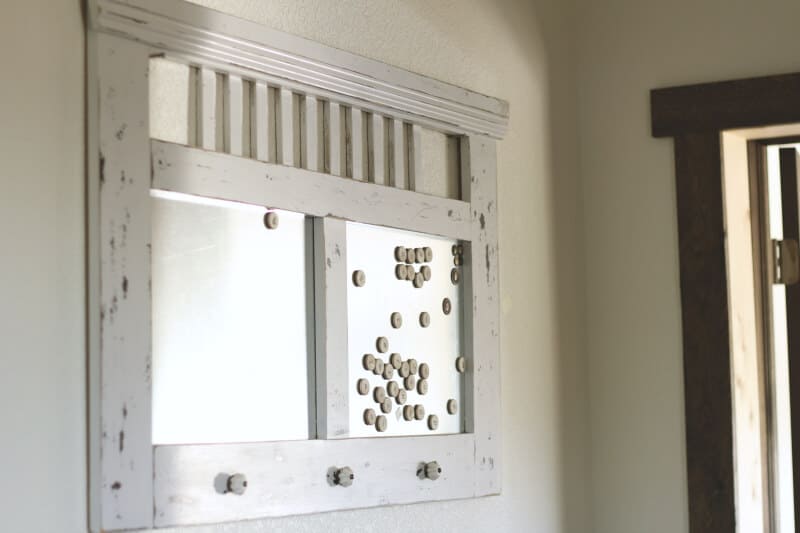
This is an old headboard I nabbed at a garage sale for $1. I dressed it up with a bit of chippy white paint, galvanized steel panels, and vintage knobs to give it a second life as a message center.
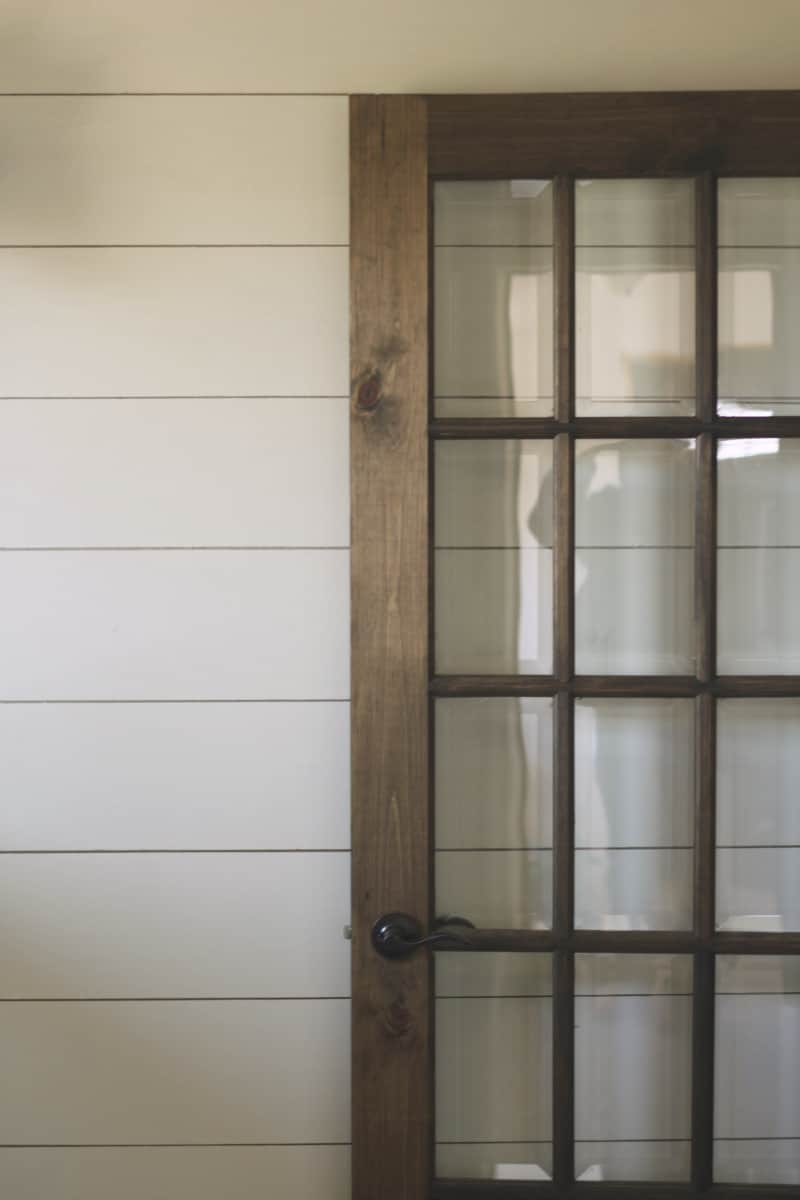
We ordered this elegantly simple 15-pane window door from our local building store and stained it to match the doors and trim in the rest of the house (stain is Jacobean by Minwax).
This room will take a lot of abuse from muddy Prairie Children, so we went with wood-look tile instead of real hardwood.
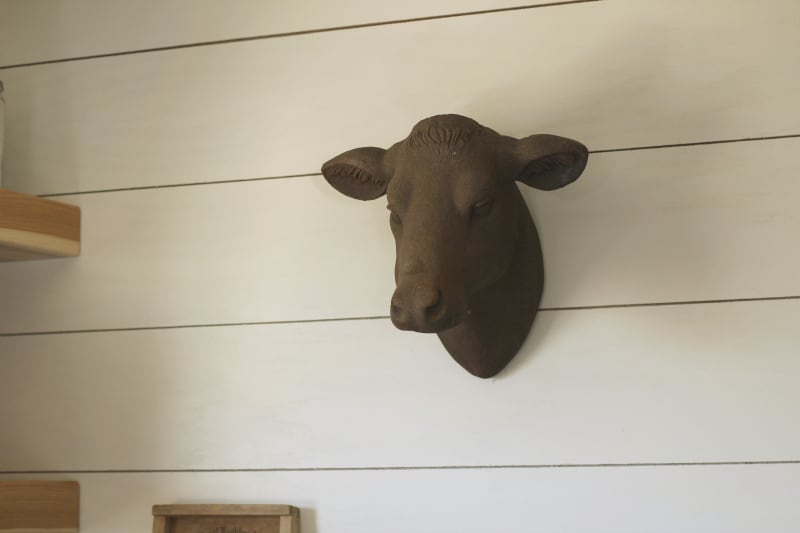
I found this crazy cow head on DecorSteals.com and it instantly caught my eye. It’s kinda quirky and off-beat, which is exactly why I love it. I think I might put some greenery around it, or maybe an old chipped-paint frame. I named her Wilma.
All in all, I’m head-over-heels in love with this room. Believe it or not, it actually used to be our dining room– complete with no windows, a very short, uneven ceiling, and barely enough room to have 4 people sit around the table. It’s a much better laundry room, I think. I still hate doing laundry, but at least I have Wilma to keep me company while I’m in there.
The rest of our house tour will be coming soon– stay tuned!
