I’m pretty sure I promised the nitty gritty details of my shiplap backsplash to my newsletter peeps about two months ago.
Sorry guys.
In my defense, I had a good reason for the delay… we actually just got the last of the project completed yesterday. Like less than 24 hours ago.
Thank you super rainy weather, garden planting, cattle work, and the nightmare of a yard project that just won’t quit.
The good news is that the garden is almost completely planted (can I get an amen?!) and the kitchen is finally done (well, minus that missing bit of window trim… sshhhh…).
And now onto the other 6 billion summer projects.
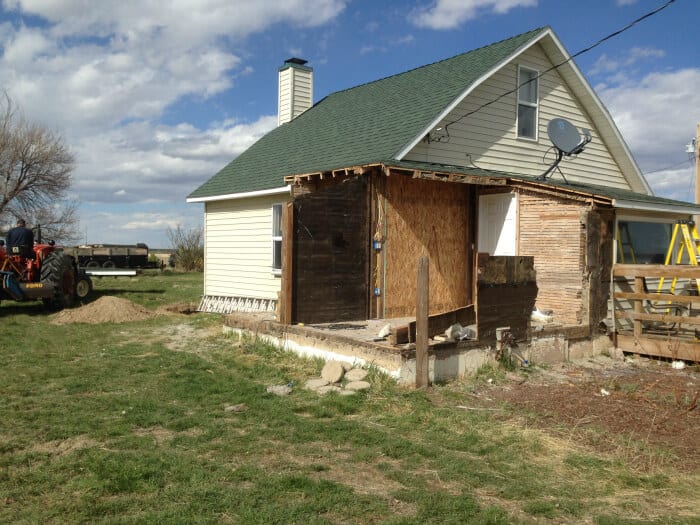
I have another post coming next week with the rest of the gory details of our mini kitchen remodel (like why we cut a gaping hole into a perfectly good wall), but it got too long for one post, so we’ll focus on the shiplap backsplash installation for today.
(Please excuse the wonky lighting in some of the photos– they aren’t as crisp as I’d like them to be. My kitchen doesn’t have much natural light, so I just have to do the best I can.)
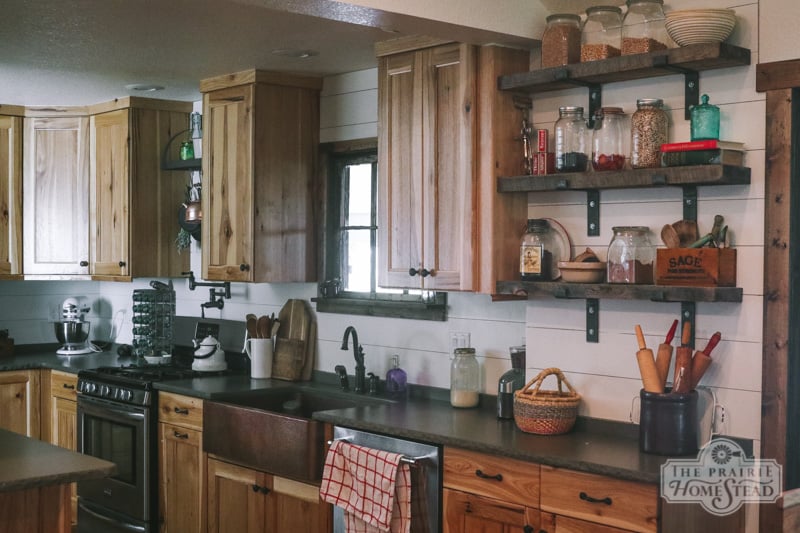
The Backstory
Right about now, some of you are probably thinking, “Uh Jill, didn’t you just finish remodeling your house?” And if you are, you’re correct.
We wrapped up our epic-slash-utterly-insane extreme farmhouse makeover in 2016.
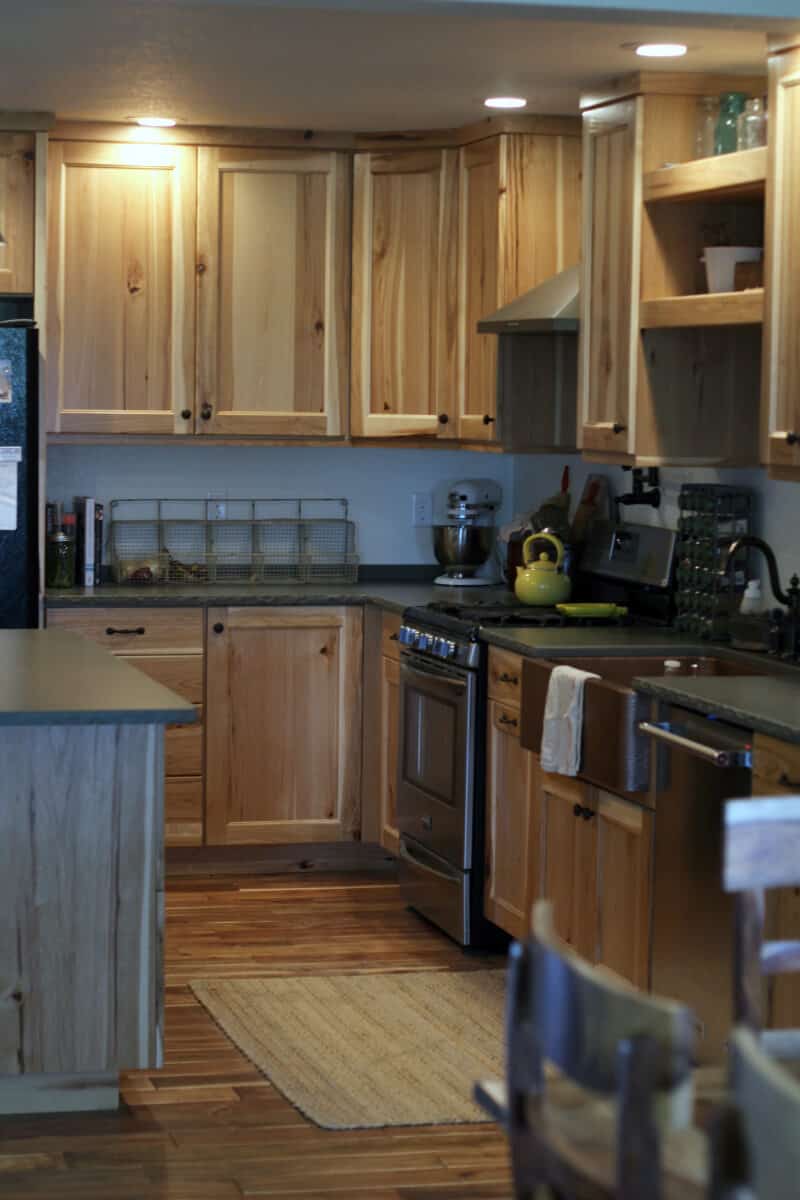
We completely redid the kitchen, and other than just a few small things that continually bugged me, like the awkward shelves and range hood (more on that next week), I’ve loved my new kitchen ever since. However, the plain sheetrock backsplash wasn’t working for me. Not at all.
It was far too bland, boring, and modern. It didn’t fit with the custom feel of the rest of the kitchen, not to mention it was not easy to wipe down (which was a problem since I’m a very messy cook…)
We actually never intended to have sheet rock for a backsplash, but we pretty much fell into a heap of exhaustion at the end of our big remodel in 2016 and didn’t even want to think about doing anything else for a while. I decided to “think” about my backsplash options for a bit and just wait. And then two years flew by and there I was with the same old sheetrock.
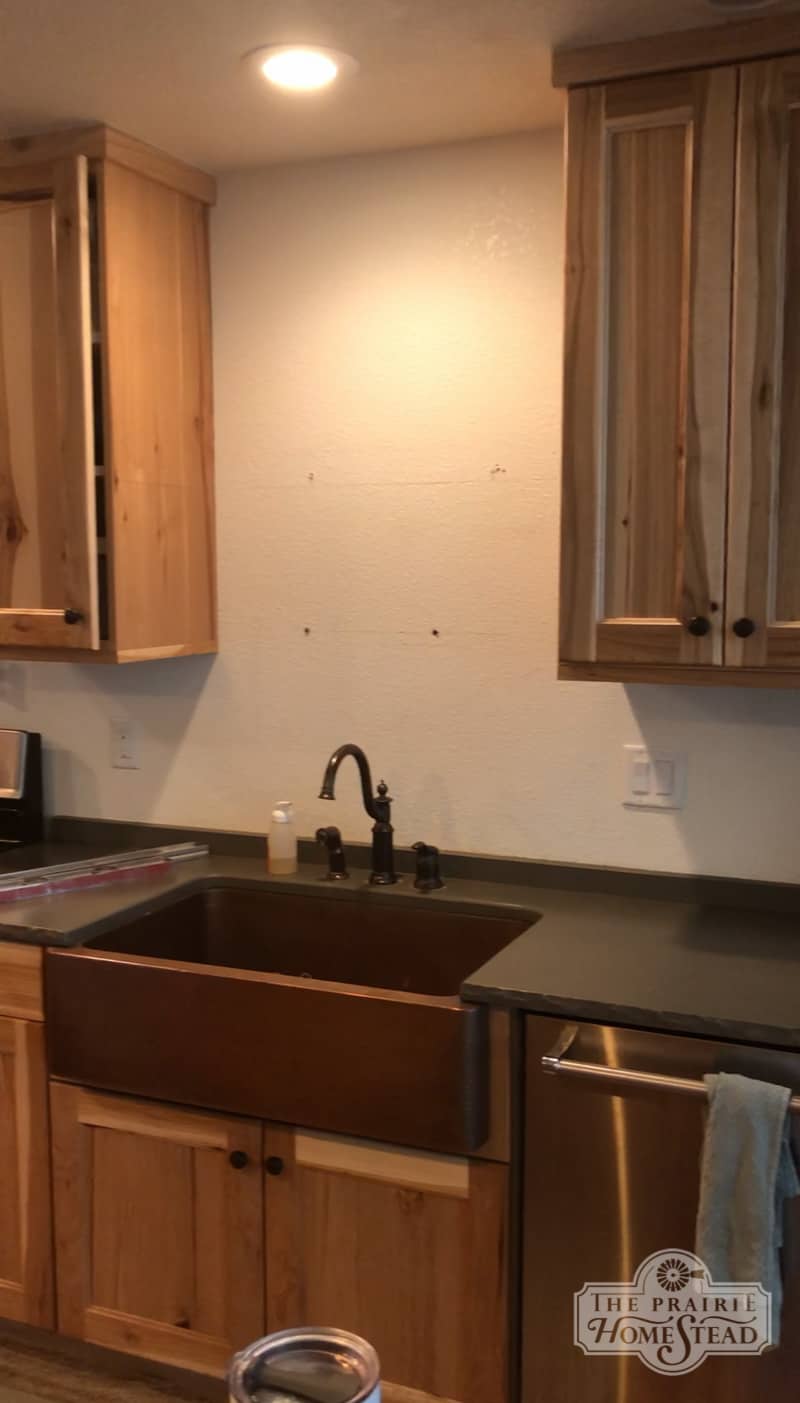
I mulled over lots of options…
I thought about tile… But I just couldn’t find anything I loved, or anything I could guarantee I wouldn’t want to change in 2 years (which isn’t really an option with tile… Or at least it’s not an option if I want to stay married.)
I thought about using weathered wood, but with our floors and hickory cabinets, that would be WAY too much wood.
I thought about stamped tin tiles, but they felt they’d be too busy when combined with my cabinets and floors.
And that left me with shiplap… the idea of which I fought for months.
Dang Shiplap
I know, I know… shiplap is trendy right now and everyone loves it. So what’s my problem? Well, I have an issue with it because it’s trendy and everyone loves it.
I’m weird like that…
I liked mason jars waaaay before they were cool. And now that they are everywhere, I almost find them boring. (Sorry, but I had to say it…) Same goes for old chippy furniture and such. It lost a lot of its charm for me once it started popping up EVERYWHERE.
I know, it doesn’t make sense. Everyone else follows trends, I go the opposite… That’s just how I roll.
Anyway.
I racked my brain for months trying to think of an option other than shiplap, but I couldn’t come up with anything that would be slightly understated and compliment the rustic hickory cabinets, yet still provide that vintage sort of feel.
The tipping point finally came after I remembered our old kitchen had large planks underneath the layers of sheetrock when we demoed it (unfortunately, the planks weren’t salvageable). Therefore, plank walls would technically be original to our house. In a round about way, that made me feel better, because if when shiplap goes out of trend in a few years, I know it’ll still be true to our home, and I’m good with that.
So shiplap it was.
How We Installed Our Shiplap Backsplash
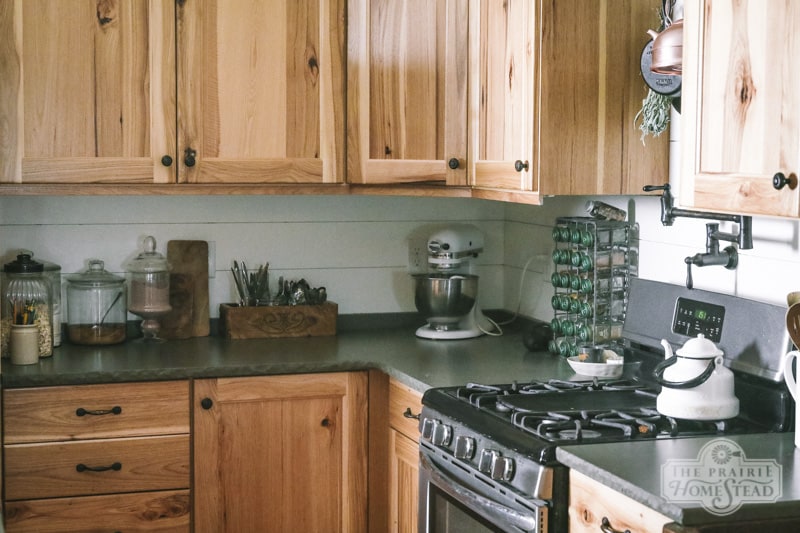
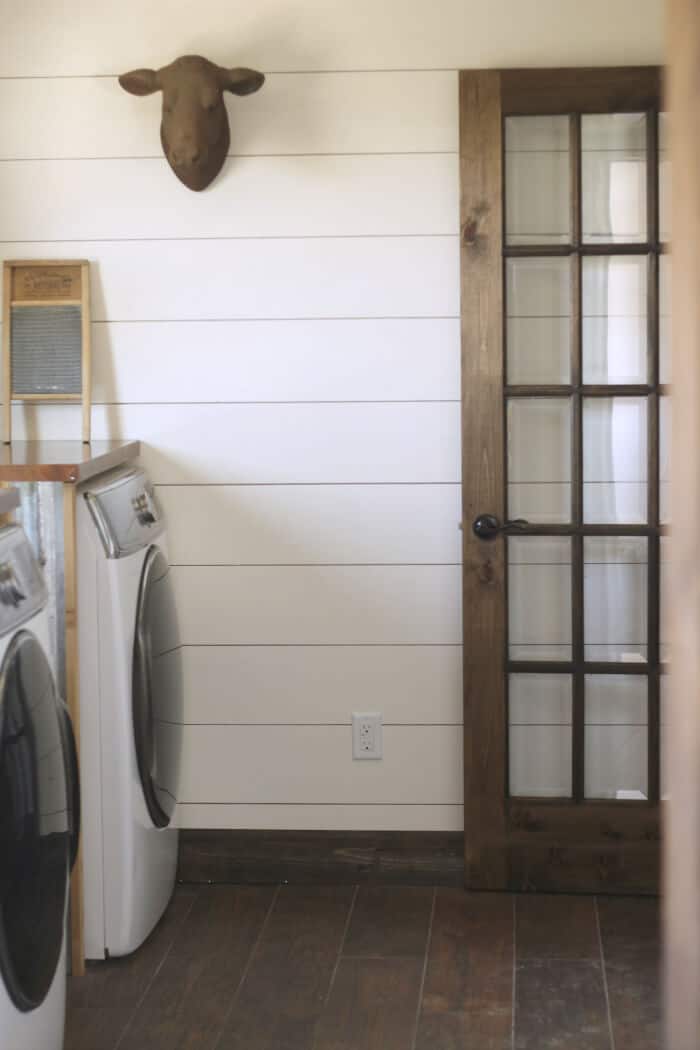
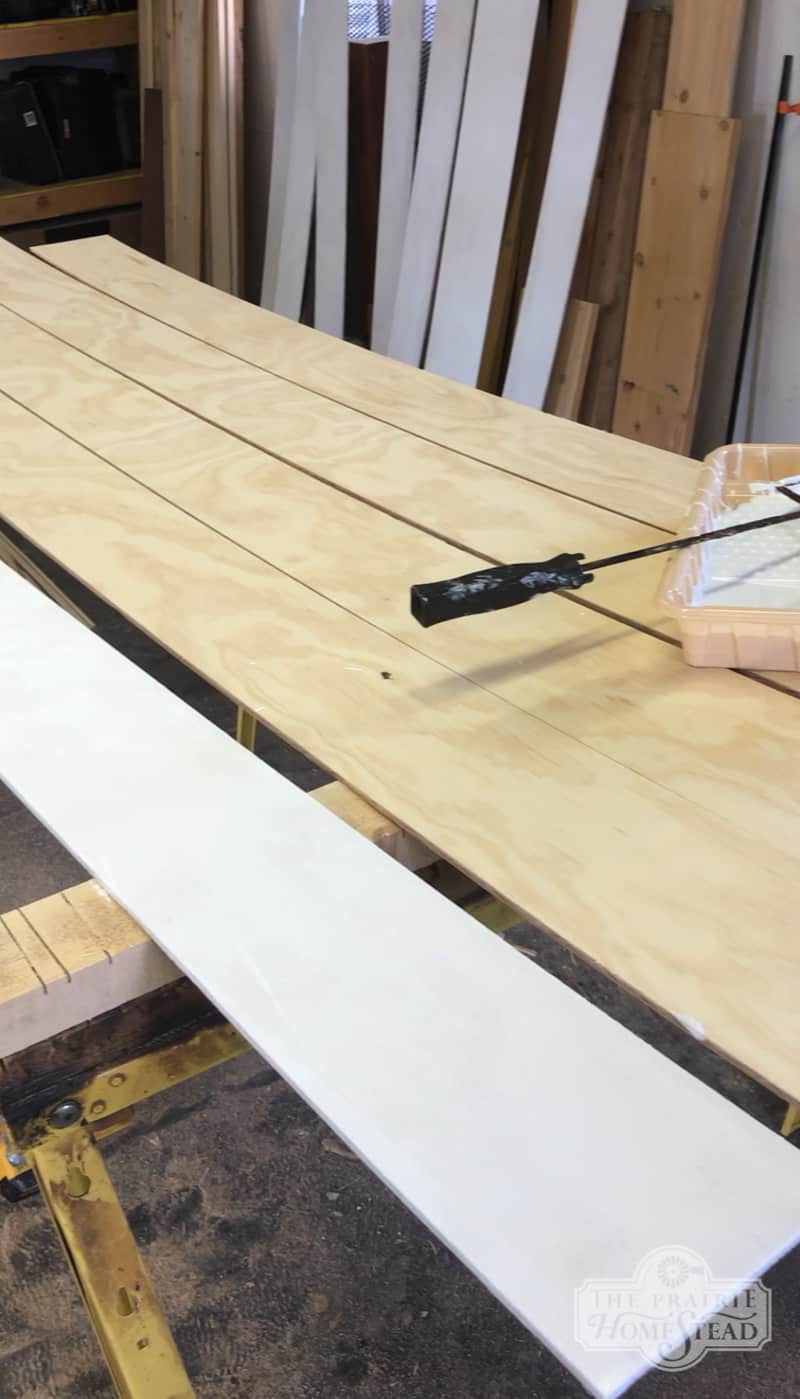
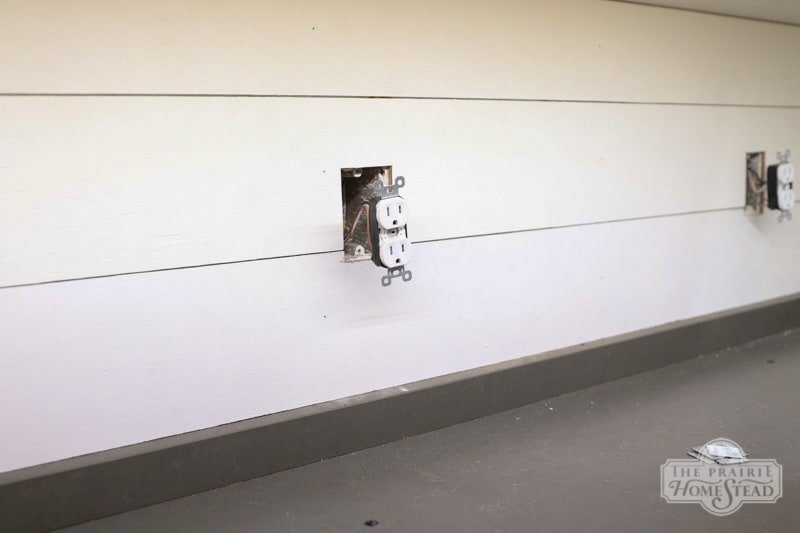
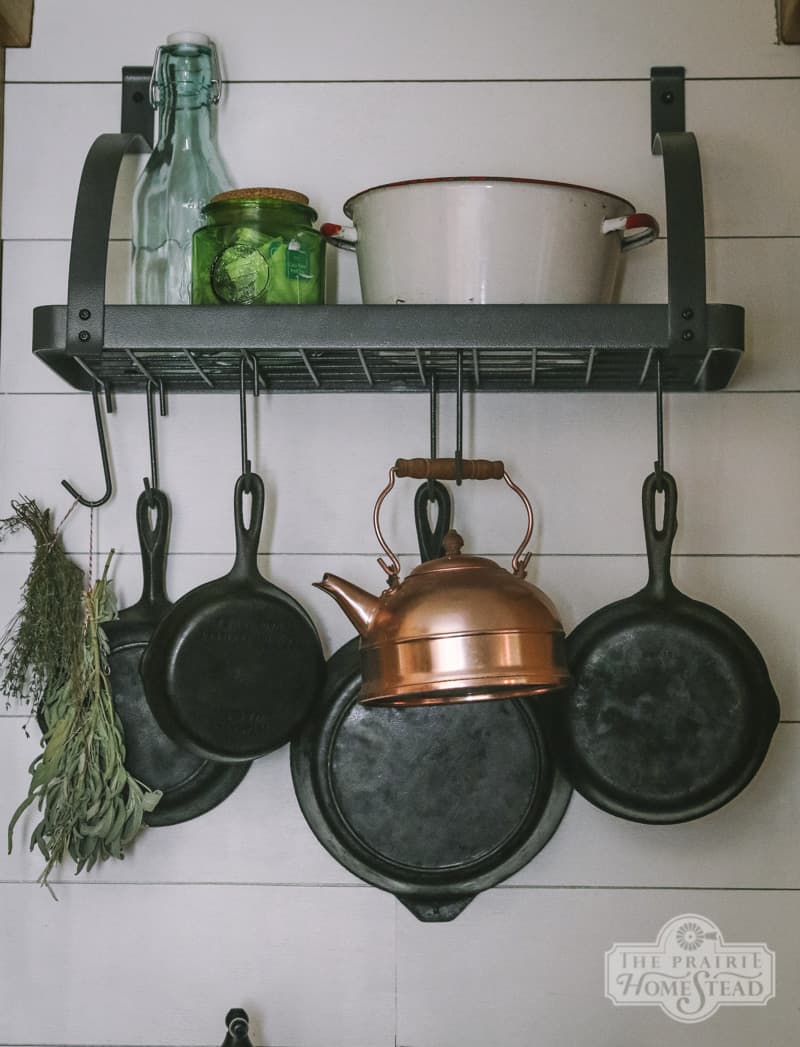
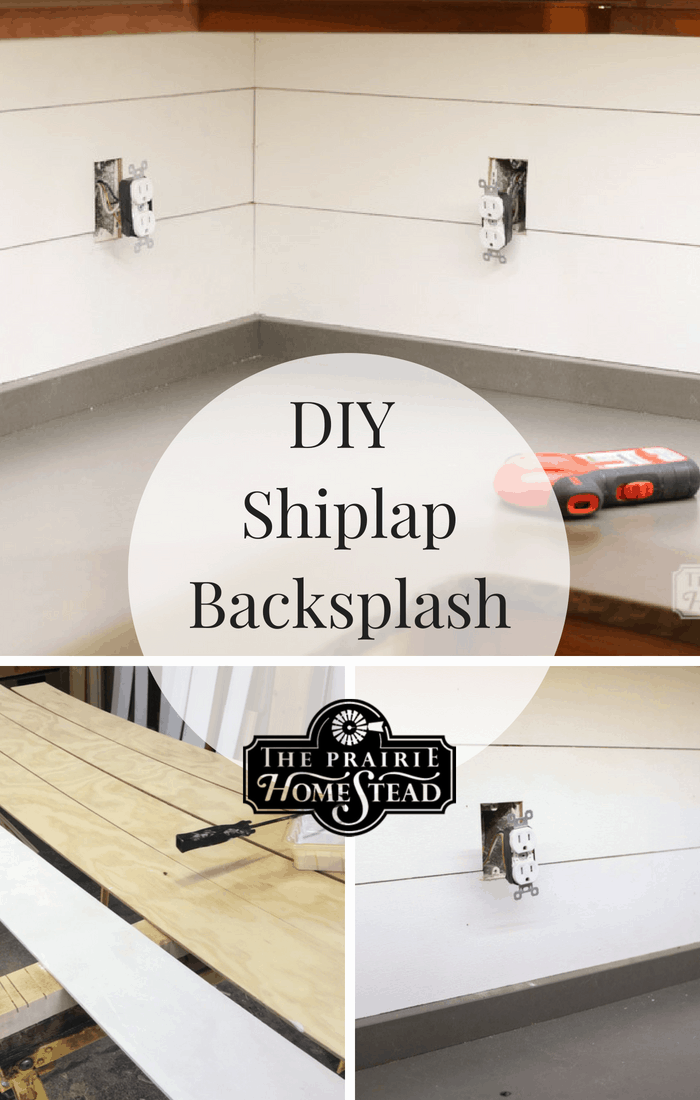
Similar to the shiplap we put in our laundry room that you can see in the photo above (I was OK with it there two years ago because I felt like it would be easier to replace if I ever got tired of it) Christian cut plywood sheets into 6″ planks.
I painted the planks with 2 coats of primer (including the edges) and then one coat of semi-gloss paint. (I used Westhighland White by Sherwin Williams)
And they were crazy rough. Like sandpaper rough. Which wasn’t gonna work. (Yes, I realize I should have figured out they needed to be sanded BEFORE I started applying primer… I don’t know what happened there. Let’s just call it poor judgement. Or an irrational believe that the primer would magically smooth them out. I dunno…)
And so I found myself sanding them after I painted them. Not ideal, but thankfully it didn’t remove all of the paint.
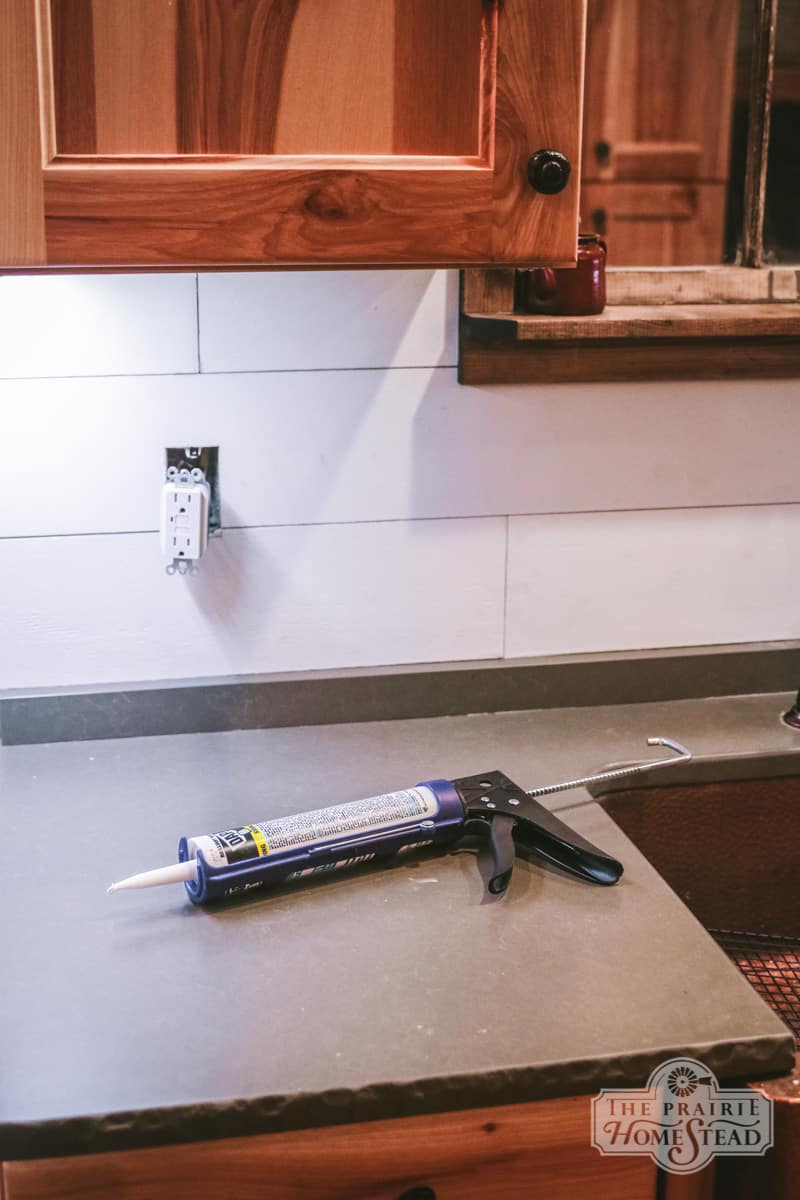
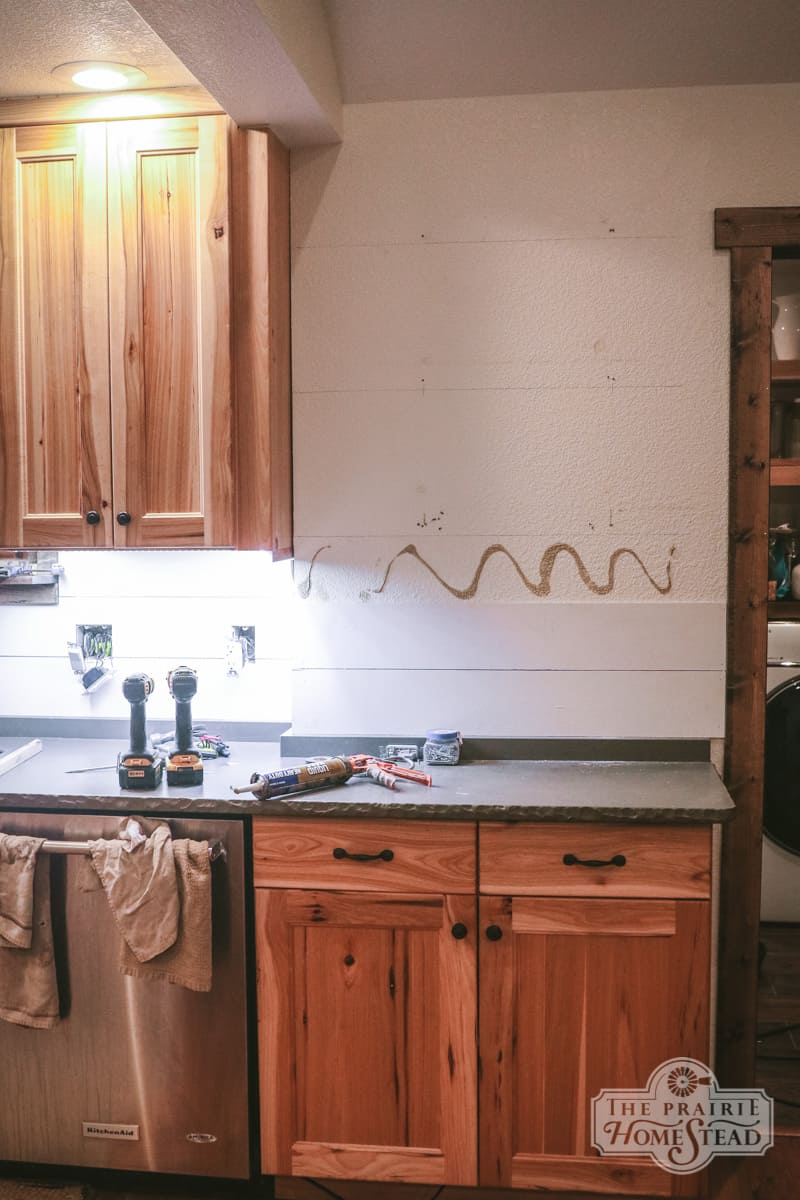
We used a combination of Liquid Nails and a nail gun to affix the shiplap to the wall and then I filled and sanded the nail holes for a slightly smoother looked. I gave the whole thing one more coat of paint to cover up the sanded spots and make sure everything had a smooth finish.
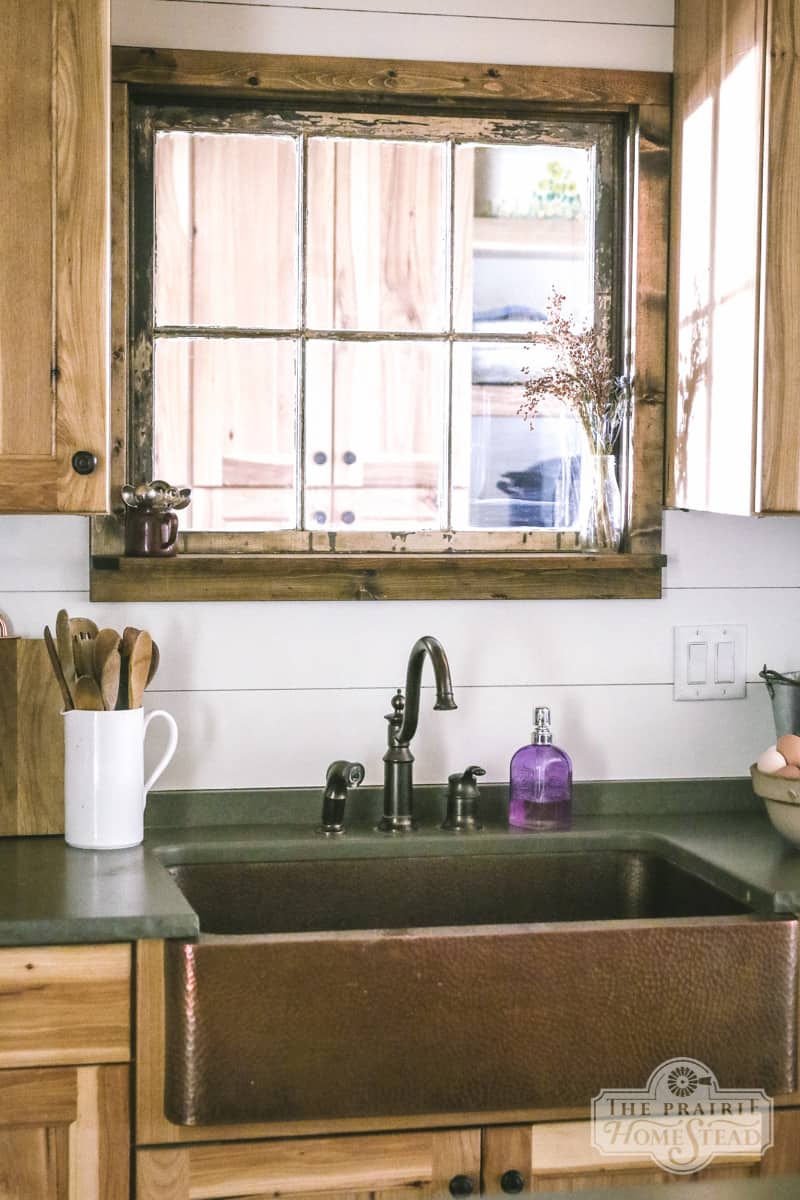
Some tutorials recommend filling the gaps between the boards, which we considered, but I’m SO glad I didn’t. The gaps are perfection.
The Verdict:
I love it.
I really, really love it.
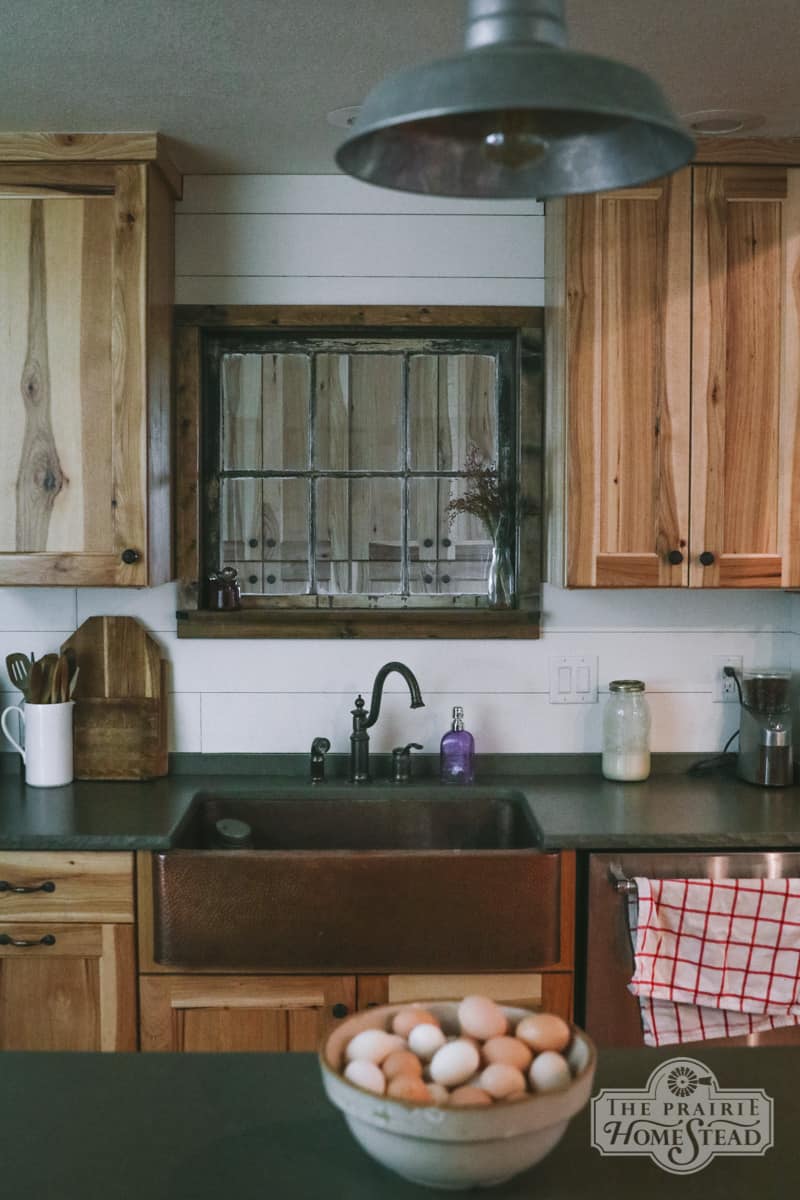
I have ZERO regrets that we went with shiplap, and it gives the exact vintage vibe I wanted without being too distracting. It really changes the feel of the whole kitchen.
And it really wasn’t all that difficult or expensive to create (although Christian might say differently).
As far as wipe-ability with the shiplap, as long as it was sanded (I used 220 grit), it’s much more wipeable than sheetrock. I would highly recommend using semi-gloss paint if you’re installing it in a kitchen.
Stay tuned for look at the rest of our mini remodel, including us ditching our range hood and cutting a giant hole above the sink. I know, I know… we’re gluttons for punishment… Or just plain crazy… or something.
